

In Part 1. of this series we Installed vNext.
In Part 2., we then Configured vNext to use the New AD Site as a boundary and Configured Discovery Methods in vNext.
In Part 3, we installed the Reporting Point Role along with some additional roles and configured them.
In Part 4 we configured the client Agents and deployed the vNext Client.
In Part 5 we deployed an Application to All Users.
In Part 6
we added Windows Deployment Services, added the PSP role, added the
Windows 7 Enterprise image, and updated our boot image for Deploying
Windows 7.
In Part 7
we created our Build and Capture Task Sequence, enabled the Network
Access Account, Advertised (Deployed) the Task Sequence, and created a
new hyper-v virtual machine for capturing the wim on.
In Part 8 we installed WSUS and then the SUP and SLP roles.
In Part 9 we configured SUP and deployed some updates.
Now we want to deploy our captured Windows 7 image using a separate Deploy Windows 7 Task Sequence.
Step 1. Import the Captured Image
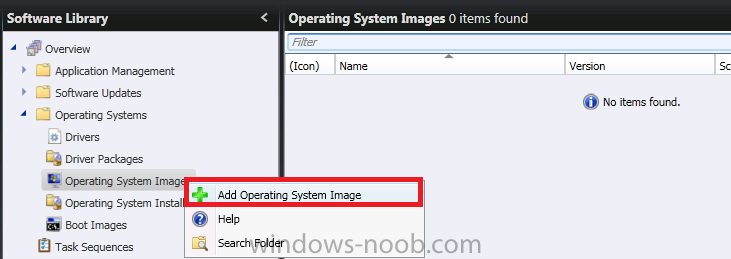
In Software Librady, Expand Operating Systems, and right click on Operating System Images, choose Add Operating System image
fill in some details about your master image
and click Close at the confirmation screen
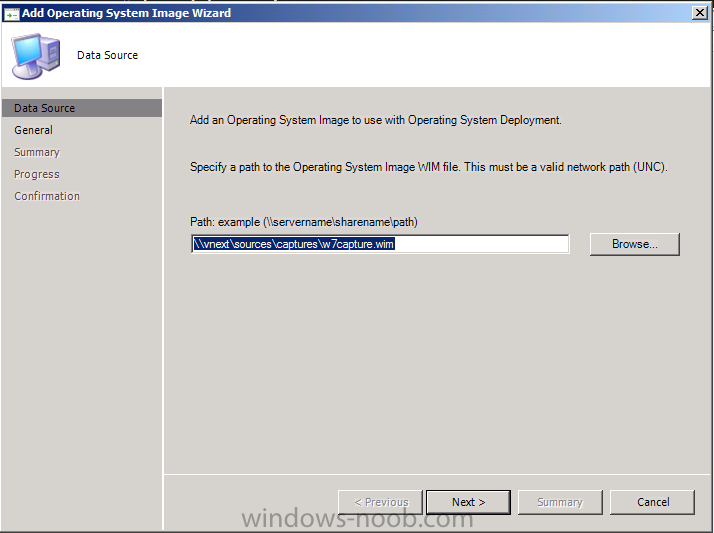
Browse to the previously captured WIM file
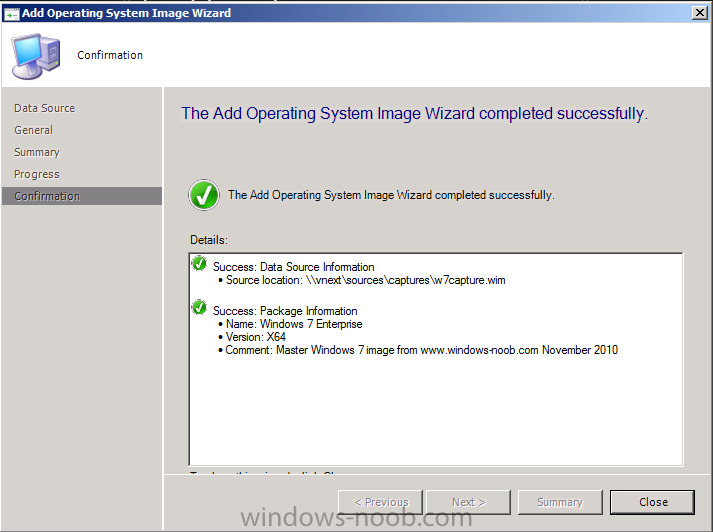
Fill in some details about the image

and proceed with the wizard through to the confirmation screen, click close when done.
to read the entire post plus screenshots click here